An easy recipe for coconut ice. A sweet coconut fridge cake cut into bite-sized pieces.
EASY VEGAN COCONUT ICE
This is a super simple recipe for coconut ice.
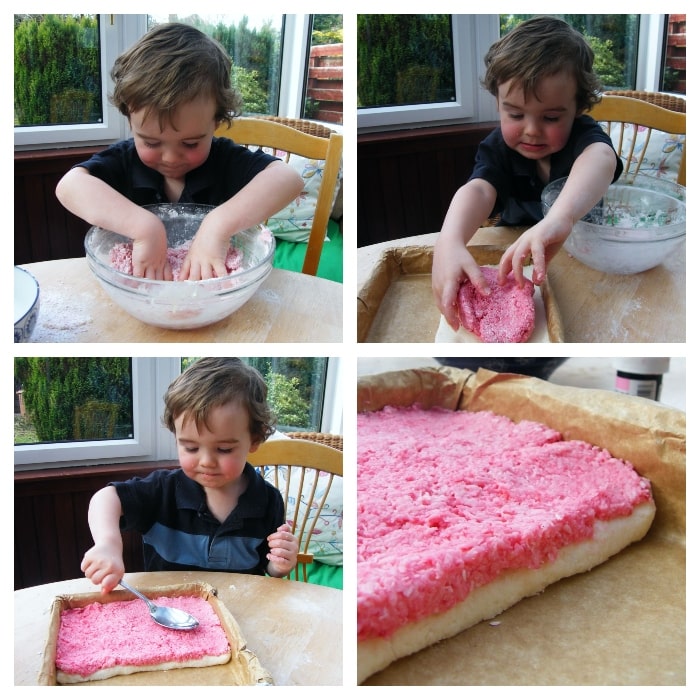
I was reminded of it when I came across some photos of my son making it when he was just a wee toot.
It's a super sweet coconut snack, but cut it into small, bite-sized pieces and it's the perfect treat for lunch boxes, afternoon snacks or at any time really.
It also makes a really pretty gift to give in a glass jar with ribbon or as a treat for parties, especially birthday parties.
WHAT IS COCONUT ICE?
Coconut ice is a British confectionary that is thought to have been created in the 1950s.
The Second World War had ended and rationing was coming to an end in Britain, so sugar was more available.
Coconut ice was a treat made by home cooks in squares or bars. Sugar, condensed milk and coconut were the main ingredients.
So many new desserts and cakes were created during this more affluent period.
RATIONING DURING THE WAR
Condensed milk was available during the war, but as the war continued it was also rationed.
My mum tells me my gran always had some in her cupboard for sweet treats during the war and I remember as a child my late aunt telling me that she would eat condensed milk sandwiches as a child.
Coconut was available during the war too, but like all sweet treats, it was also rationed. It was available in cans shredded in syrup.
It was definitely easier to bake after restrictions ended.
And of course, vegan condensed milk is a relatively new thing.
EASY RECIPE FOR KIDS
As you can see from the video this is such an easy recipe, even a little one can make it.
It's actually a really good recipe for kids to make, as there is no oven and they can really get stuck in pulling it together with their (clean) hands, then pressing it into the tin.
Unless your children are older, I would weigh out the ingredients in separate bowls and leave them to do the rest of it.
They will have great fun.
Did I say, it's also good fun for adults to make too?
WHAT YOU NEED TO MAKE COCONUT ICE
Coconut ice is a super simple recipe with just a few simple ingredients.
- DESSICATED COCONUT - dried coconut flakes
- VEGAN CONDENSED MILK - widely available now
- ICING SUGAR - also known as confectioners sugar
- FOOD COLOURING - gel colouring in pink or red is the best option, you only need a little
For Halloween, just use green food colouring instead of pink for monster snacks and try my Halloween Oreo Monster Pops.
VEGAN CONDENSED MILK
STORING COCONUT ICE
Coconut ice is traditionally left out to dry overnight, then dusted with icing sugar and cut into squares.
It's then kept in an airtight container for up to 2 weeks.
I prefer to pop it into the fridge to set for a couple of hours, then dust it with icing sugar and cut into small squares.
Then keep it in an airtight container in the fridge for a couple of weeks, if it lasts that long!
I'll leave it to you to decide which way you leave it to set and which way you store it.
pin it for later
MORE EASY VEGAN LUNCH BOX TREATS TO TRY
Here are a few more easy vegan treats for you to make.
- Apricot & Coconut Flapjacks (no bake)
- Chocolate Chip Oat Cookies
- Chocolate Pretzel Tiffin
- Easter Mini Egg Fudge
- Easy Biscoff Tiffin
- Easy Vegan Lemon Muffins
- Fudgy Pineapple Chocolate Brownies
- Raspberry & White Chocolate Cupcakes
- Scottish Macaroons (with a secret ingredient)
WANT NEW RECIPES DELIVERED TO YOUR INBOX?
HOW TO MAKE EASTER RASPBERRY & WHITE CHOCOLATE CUPCAKES
- Weigh out your ingredients.
- You need to split each ingredient (the icing sugar, coconut and condensed milk) in half, so you have two portions of each.
- Group one set together for the white layer and another set for the pink layer.
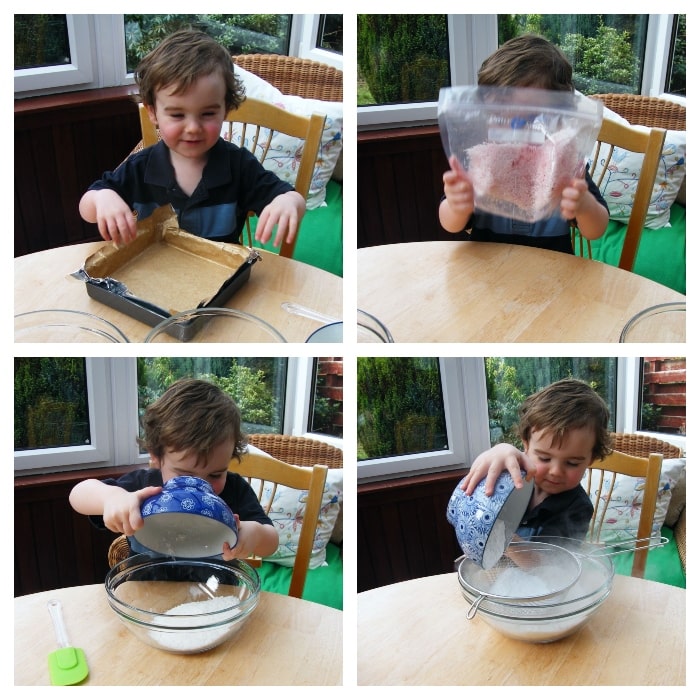
- Line your brownie tin.
- Colour half your coconut. Adding it to a freezer bag with a little food colouring, sealing and shaking is the best way to do it. Once it's coloured lay it aside for the second pink layer.
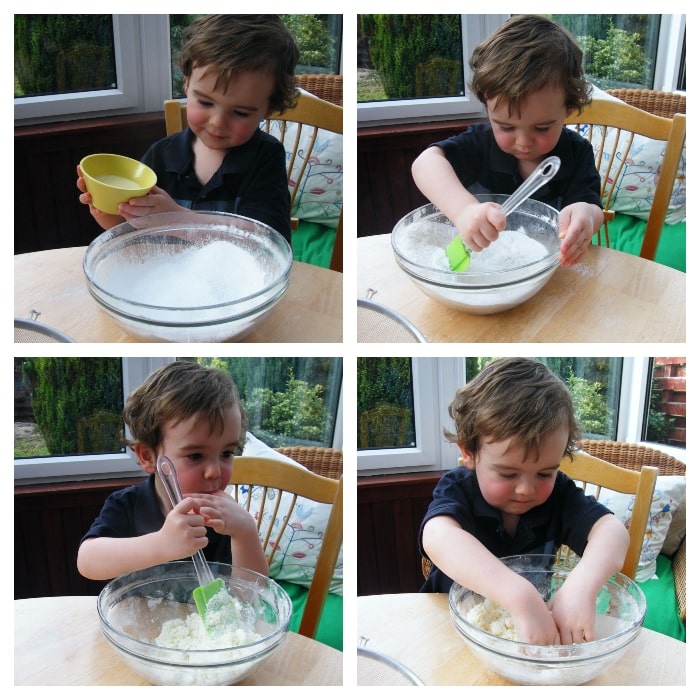
- Now start by adding the white coconut and icing sugar to a mixing bowl.
- Pour the condensed milk into the icing sugar and coconut.
- Mix well.
- If some gets on your finger, you better taste it (optional).
- Bring it together with clean hands
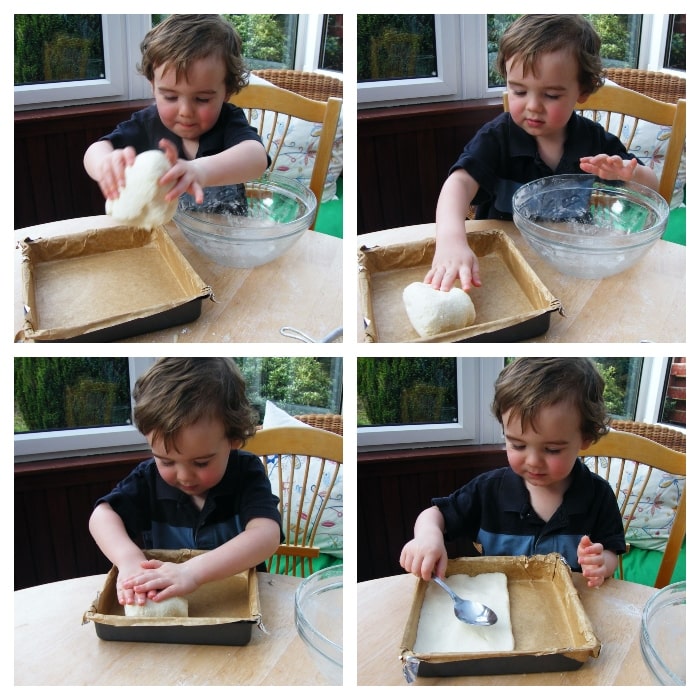
- Place the first layer or coconut ice in the tin and press down.
- The mixture will fill about half of a brownie tin.
- Use the back of a spoon to rub a smooth finish.
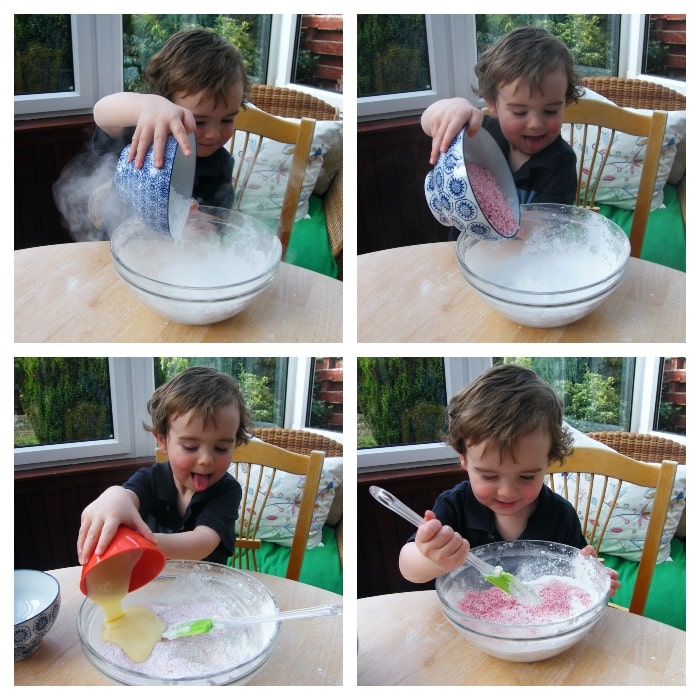
- Now make the pink layer. First pour the icing sugar into a clean bowl.
- Add the coloured coconut and the rest of the condensed milk.
- Mix well.
- Pull the mixture together and press into the tin over the white layer.
- Press down into an even layer, then smooth with the back of a spoon.
- Either leave in the fridge to set or leave out overnight to set.
- Store in an airtight container for up to 2 weeks.
- Scroll down for the full recipe.
📖 Recipe
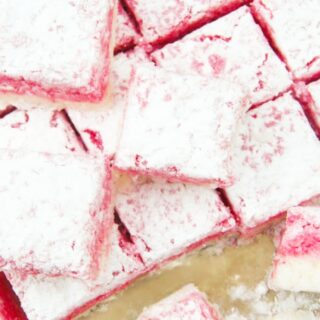
Easy Vegan Coconut Ice
Ingredients
- 200 g desiccated coconut
- 200 g vegan condensed milk
- 250 g icing sugar (plus extra for dusting)
- 4 drops pink or red food colouring
Instructions
- Line a brownie tin.
- Divide the coconut, condensed milk and icing sugar. Two bowls of each ingredient, each containing half the mixture.
- Pop half the coconut in a freezer bag with a few drops of food colouring, seal securely and shake well to colour. pour back into
the bowl and set aside, we are making the white layer first. - Add the white coconut, half the icing sugar and half the condensed milk to a mixing bowl. Mix well with a spoon or spatula, then bring together with clean hands.
- Press this into the lined brownie tin. It will fill about half of the tin, maybe a little more.
- Use the back of the spoon to smooth the surface.
- Add the pink coconut into a clean mixing bowl with the other half of the icing sugar and condensed milk.
- Mix, bring together and press in an even layer on top of the white layer. Use the back of a spoon again to smooth it.
- Leave to set, see notes below for options.
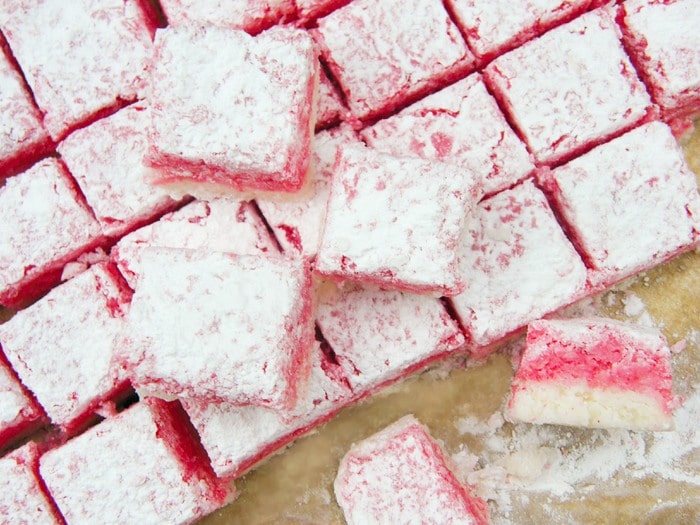
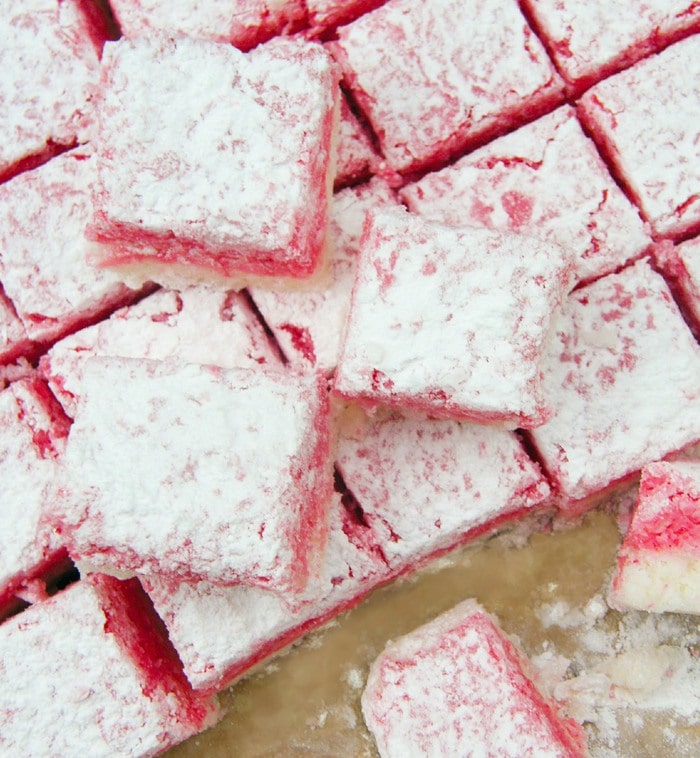
- Once set dust with icing sugar and cut into small squares. I cut it into 5 lengths then cut into 8 pieces for each length, but you can cut it as big as you like.
- See notes below for storing info.
- Enjoy!
Notes
- Gel is the best food colouring for bakes and no-bakes as the colour is strong, you only need a little and it doesn't alter the flavour. Just check it is suitable for vegans.
- Coconut ice can be left out to set overnight or set in the fridge in a couple of hours.
- Once it is cut it can be kept for up to 2 weeks in an airtight container.
- If you cut it into 40 pieces like I did, each piece is 63 calories.


Anonymous
Oh no this will be dangerous for me. I have not had coconut ice for years. Oh dear. Jill
Michelle
This is such an easy recipe! Thanks for the backstory on the name too, very interesting! 🙂
Julie
My family is going to go crazy for this coconut ice. It is so easy to make and the kids can help too.
Jenn
So pretty! How did I not know that this was a thing? Not only am I always on the hunt for vegan recipes, but sweets! Oh my - making this today!
Whats Cookin Italian Style Cuisine
I am making this as soon as I do the conversion table on ingredients, I love coconut and that little cutie in the photo has my heart to try it immediately .. looks fabulous!
Anonymous
I made these today with my daughter and she had great fun. I would not say it looks as neat as yours but it is good.
Anonymous
I am going to try these once I get hold of some condensed milk. Thanks for the recipe.
Jacqueline Meldrum
Oh that's lovely. I'm glad you enjoyed them and had fun. Thanks for taking the time to let me know.
Jacqueline Meldrum
You are so welcome. Enjoy them
Lilly
So pretty and looks so much fun to make! Definitely going to make this tomorrow! Looks so yummy!
Jacqueline Meldrum
So easy and yes it is interesting and totally makes sense.
Jacqueline Meldrum
oh yes it's fine for kids to make and you can let them use a different colour with a smaller batch each.
Jacqueline Meldrum
Enjoy it and have fun making it.
Jacqueline Meldrum
oh sugar, I forgot to put them in. I'm glad you noticed.
Jacqueline Meldrum
Haha sorry about that! You're going to make it aren't you?
Jacqueline Meldrum
Thanks and hope you enjoy it.
Beth
These are party perfect and they sound so incredibly easy to make. I can't wait to try them in different colors. Have you tried them in other colors?